Drawing an Animal Eye With Chalk Pastels
Leah Newton Art is a participant in the Amazon Services LLC Associates Program, an affiliate advertising program designed to provide a means for sites to earn advertising fees by advertising and linking to amazon.com. This post may include affiliate links, and I may receive a commission when you click on one of these links and make a purchase.
This middle school animal eyes art lesson is fantastic for teaching students the element of design for line and texture through a new set of eyes! This project covers Common Core Standards for Math and Science for grades 7 and 8 which can be found at the end of the lesson.

Grade Levels
7th, 8th Grades – This lesson was created by 8th graders
Objective
In this Animal Eyes art lesson, students will design a textured piece of art that resembles an animal's eye.
Time
3 – 60 min lessons
Materials
- Pencils
- Colored pencils
- Oil pastels – Pentel Arts Oil Pastels, 50 Color Set (PHN-50)
- 9×12 Watercolor paper – Canson (100510941) XL Series Watercolor Pad, 9″ x 12″, Fold-Over Cover, 30 Sheets
- Brushes – Acrylic Paint Brush Set, 1 Packs / 10 pcs Nylon Hair Brushes for All Purpose Oil Watercolor Painting Artist Professional Kits
- Liquid Water Colors – Sargent Art 22-6010 10-Count 8-Ounce Watercolor Magic Set
- Or this mini version for homeschooling – Sargent Art 22-6210 10-Count 4-Ounce Watercolor Magic
- Tracing paper – Strathmore 370-9 300 Series Tracing Pad, 9″x12″ Tape Bound, 50 Sheets,White
Inspiration/Artist
I was inspired to make this project when I saw this idea: Click Here
Instruction with Questions
Pre-Art
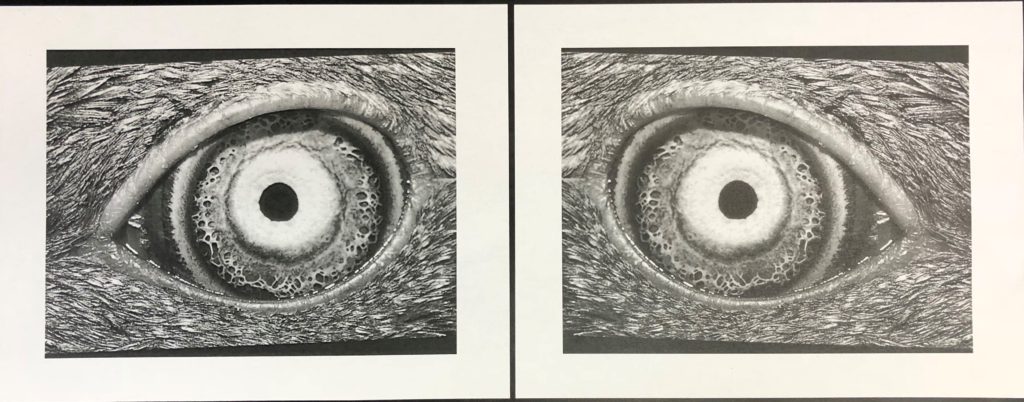
Use these Powerpoints for reference. The color one is for viewing first. The second one is for you to print your chosen eye for your artwork. You may notice it is a reversal of the original Powerpoint and in black and white for easy printing.
This link is the Reverse PPT of the eyes in black and white. Choose which eye you want to use for your artwork and print out that black and white image. Click Here
On the left you see the original. The one on the right the second eye is the reversed eye you will use.
For some of the eyes it may not matter to you and you may choose to skip this step. I wanted the students to get a sense of how copy trace transfer works with reversal.
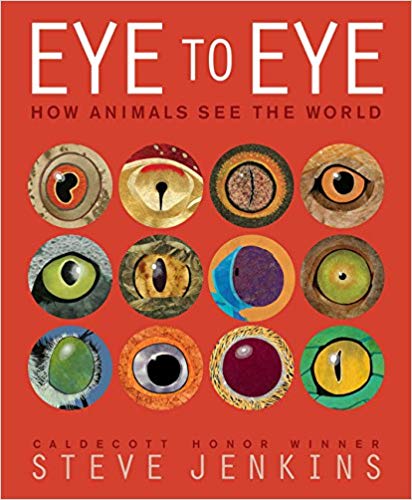
Here is another book for your reference. It is another great thing for kids to have on hand to look through.
"Eye to Eye: How Animals See The World"by Steven Jenkins
Day 1
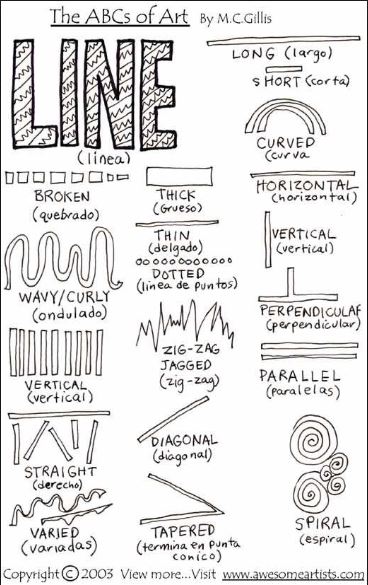
Review types of line elements. I highly recommend this site for great posters and handouts and it is all free! Click Here And it is called Awesome artists so who can argue with that?
Show power point with animal eyes. Students respond with each animal that represented.
- What designs do they see?
- Which colors are found?
- Describe what makes the skin look bump vs smooth?
- Are the patterns even or do they vary?
- Which parts are the texture, and which parts are behind the texture?
Animal eyes PPT: Click Here
You can also show them this lesson from Arteasculola where she shows different natural textures. Click Here I dont actually go over the lesson, we just check out the drawings and look for what is working.
Finally this is yet another choice put out by non other than National Geographic of animal eyes: Click Here
Next, demonstrate a preview of the technique "copy, trace, transfer" using tracing paper.
I literally do a quick demonstration for them. I pull sticks, and they come up, one by one, and choose from the variety of printed out animal eyes.
Students practice copy, trace, transfer with their chosen/assigned eye on plain copy paper. This part is just to help them become comfortable with this technique.
Day 2
Students recall what was covered on Day 1. They begin final process of copy, trace, transfer using a pencil, tracing paper and final water color paper. Here are the steps.
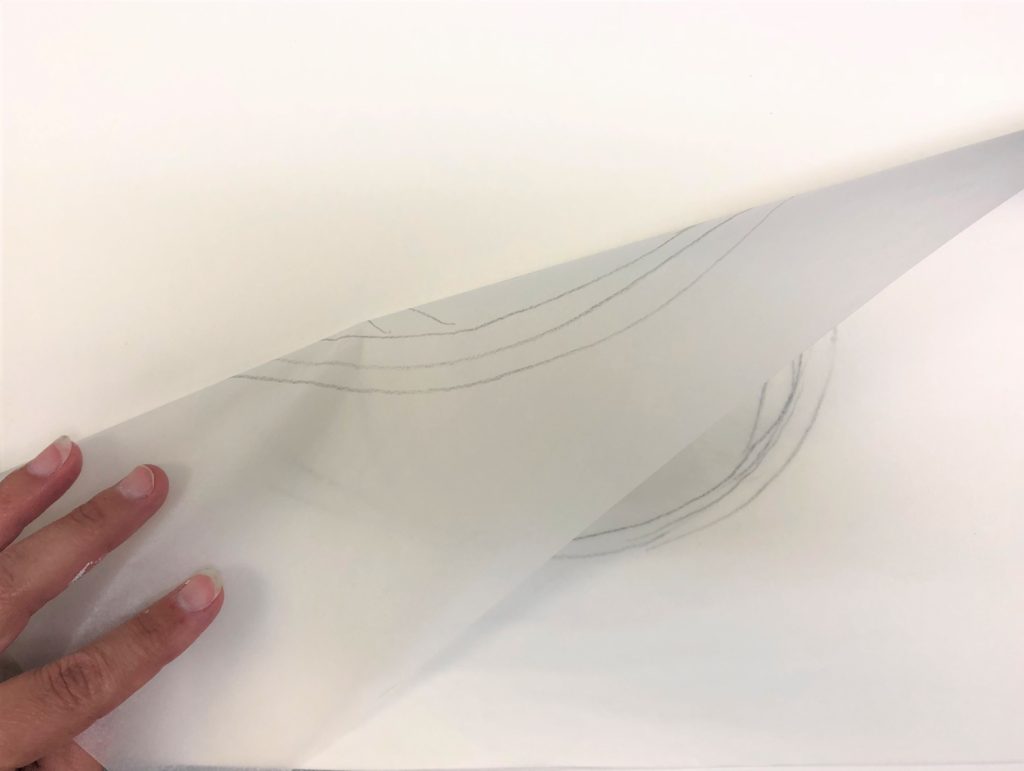
#1:
Lay tracing paper over the image. Begin tracing over main lines. Do no trace every detail.
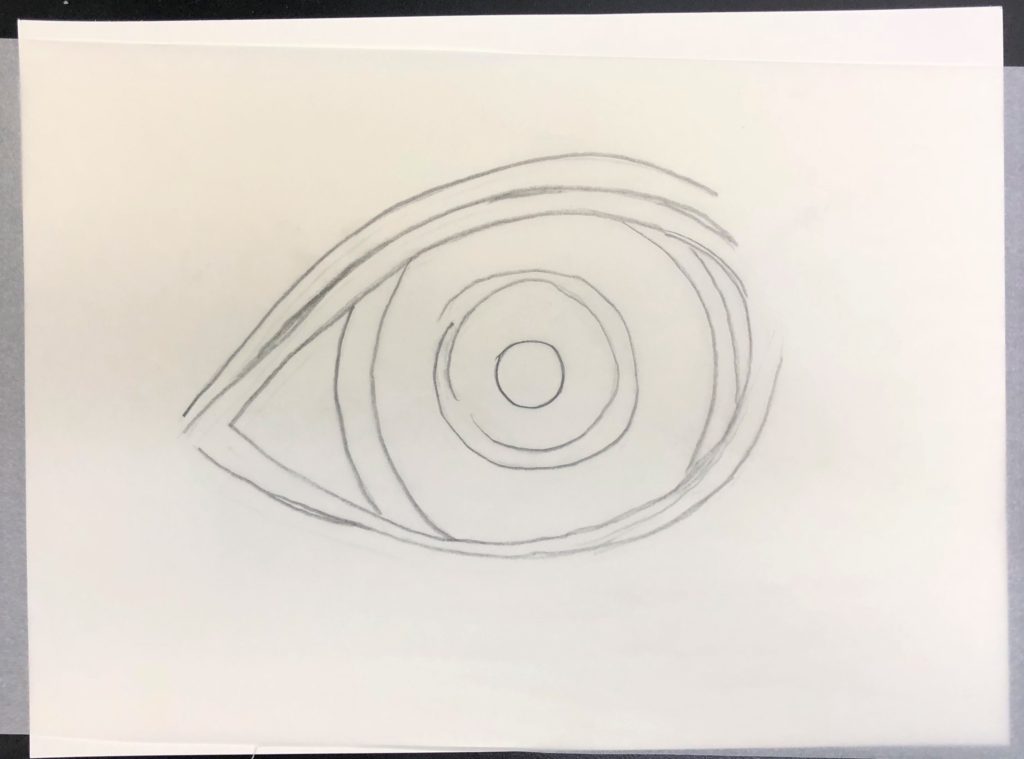
#2:
Lay the tracing paper with the pencil lines on a piece of paper. The pencil lines should FACE the paper, or touch the paper.
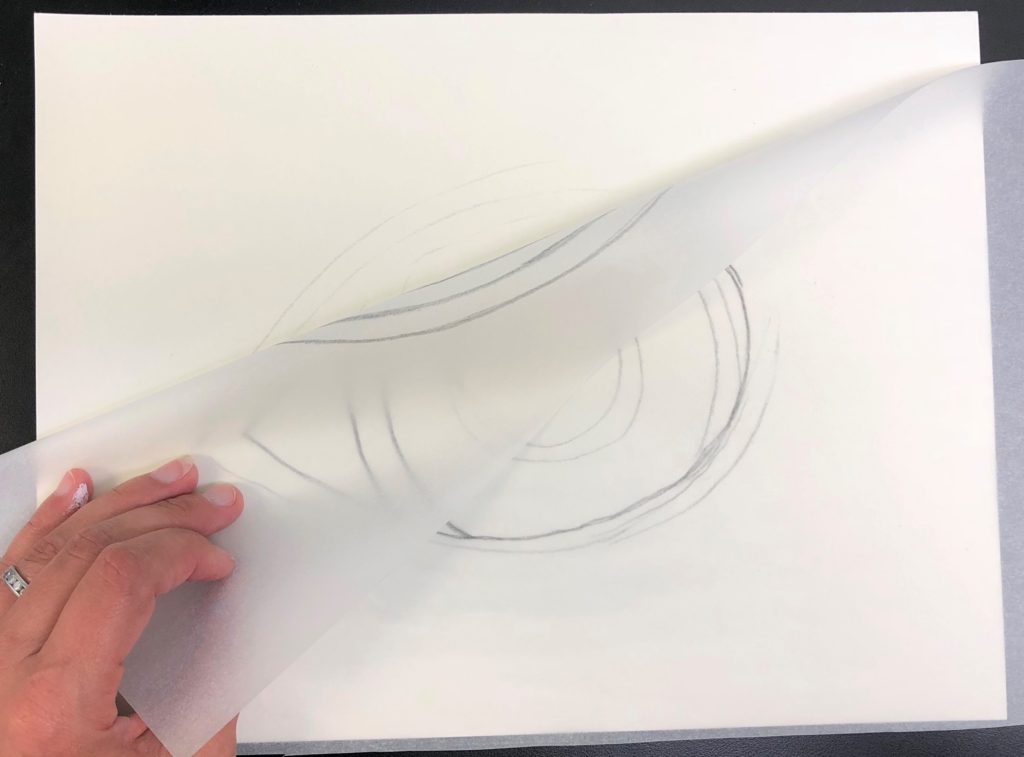
#3:
Trace over all the lines on top of the tracing paper. You are essentially pressing the pencil into the paper on the other side that was facing the paper. There will be pencil on both sides of the tracing paper at this point.
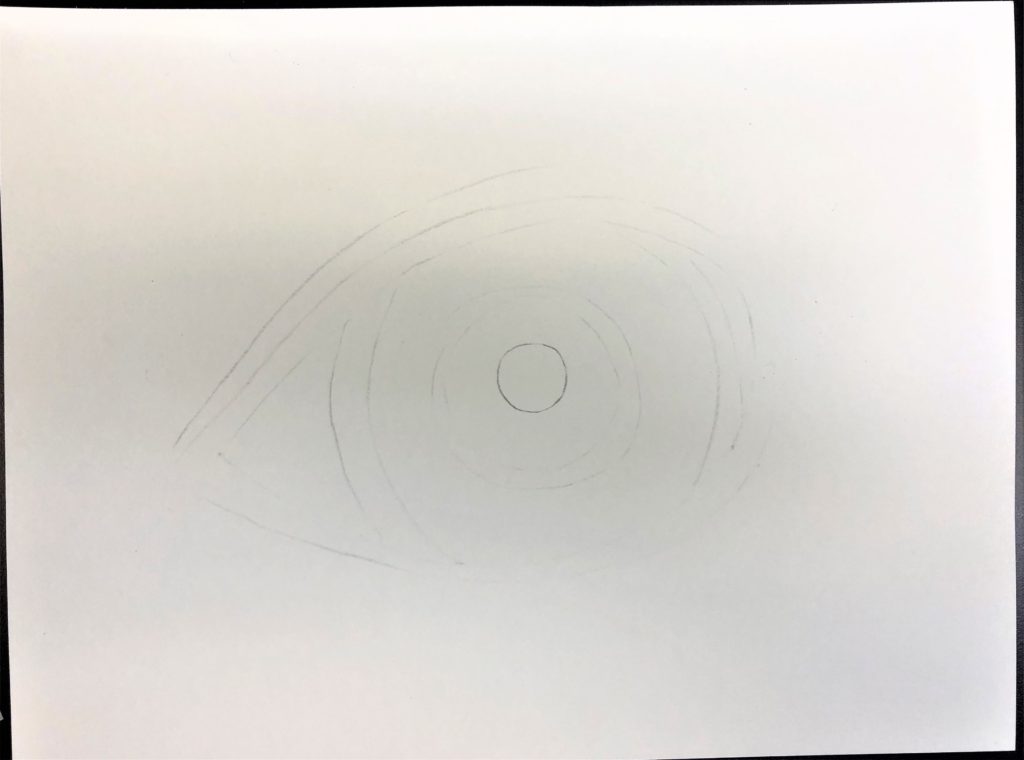
#4:
This is what your paper should look like at this point. A faded line of graphite from the pencil should appear on your paper.
#5:
The image is complete.
Next, they create texture using oil pastels and/or colored pencils. Anything that you want white should be colored with the oil pastel white. Anything deeply black, should be colored with the oil pastel black. There are no white watercolors I tell my students and they look at me blankly. Haha. The black watercolor will come out slightly grey. The oil pastels are the texture…the watercolor is the background. Perform a full demonstration of this for them, before letting them loose. It is very easy for someone to attempt to color in the entire image with oil pastel like it is a coloring page.
Students use liquid water colors to complete their image. Recommend to your students that they use multiple colors and not just the one or two they would expect. This will help their artwork pop! Check out all of those brilliant white lines adding to the project!
Day 3
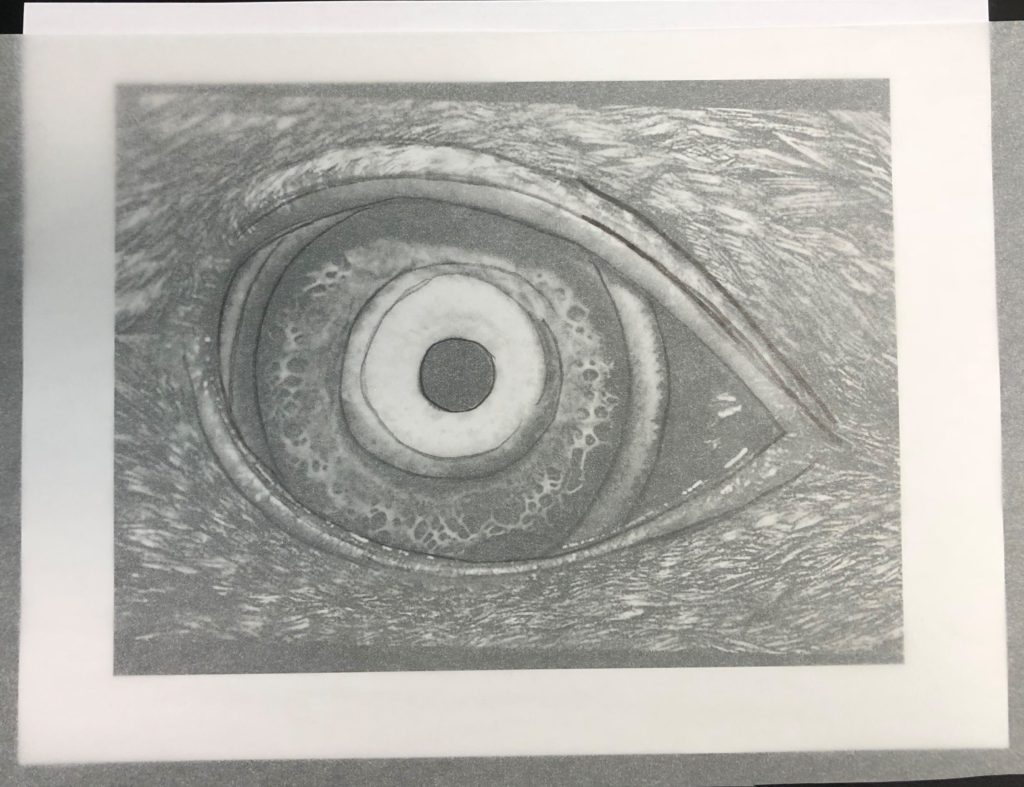
Students complete their eye. (Depending on the class and time allotted per class session, this lesson may be completed in only two sessions)
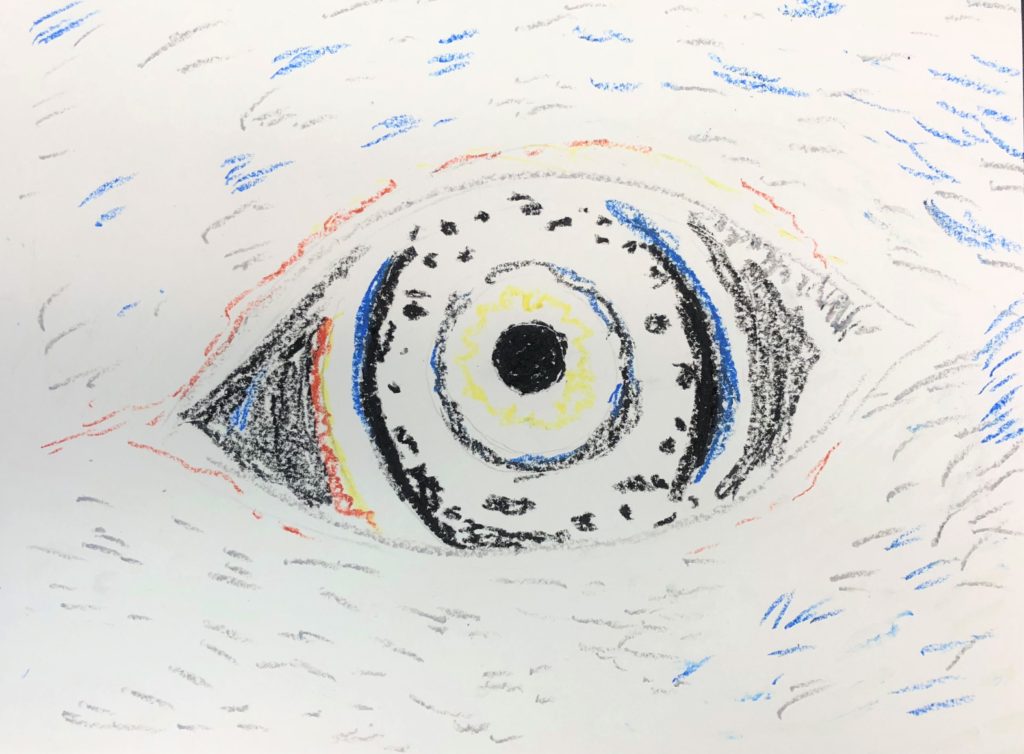
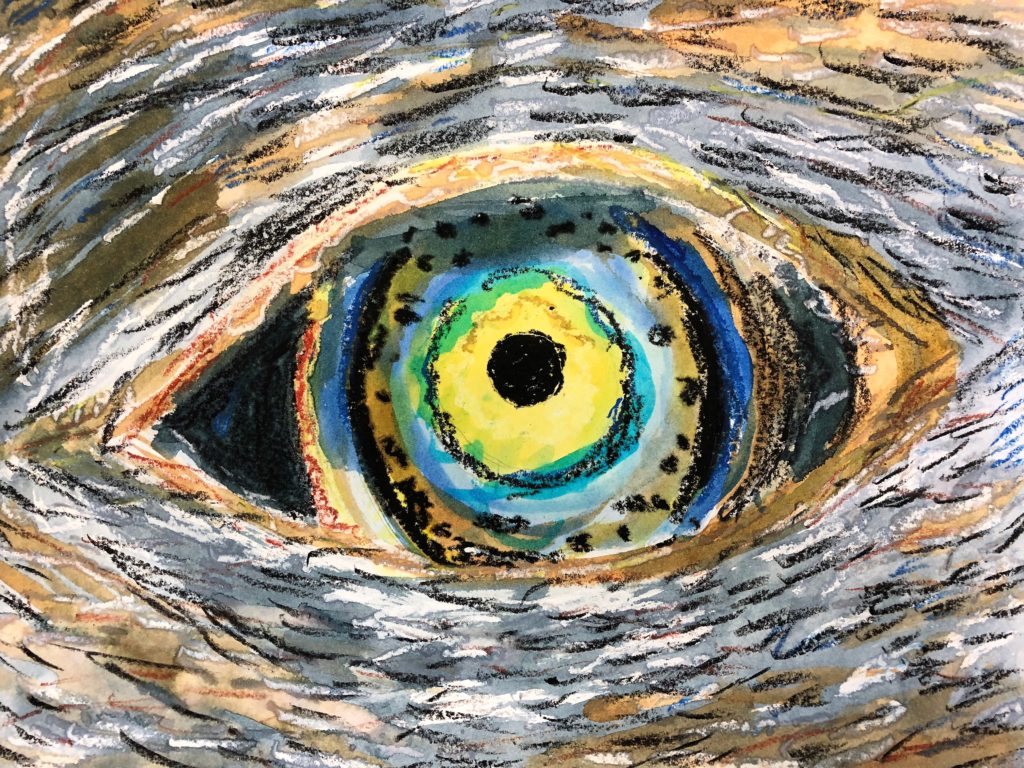
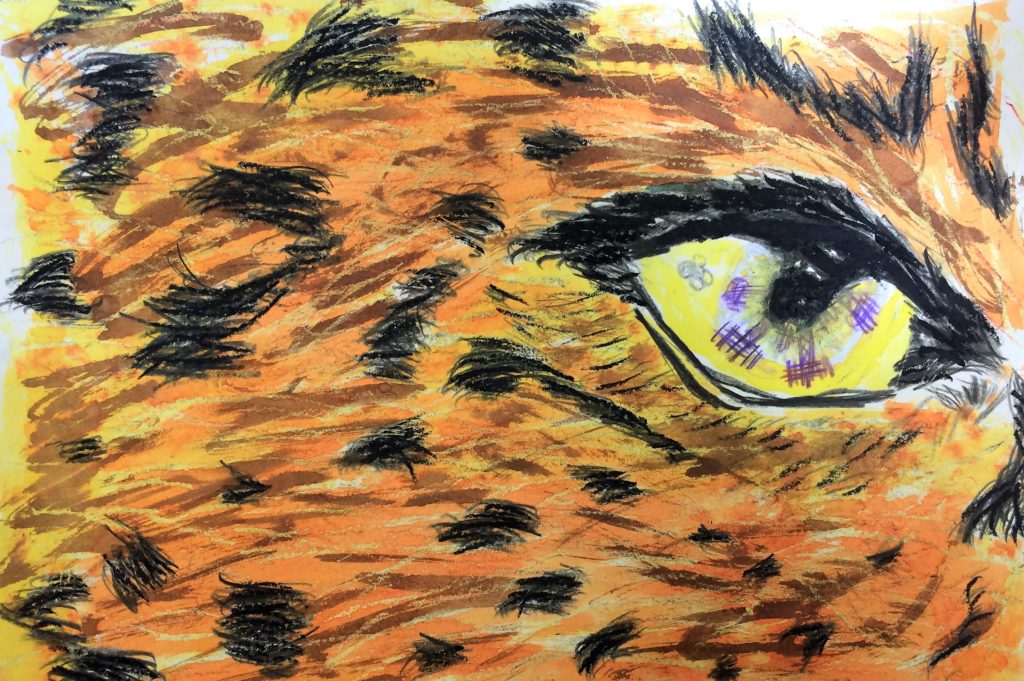
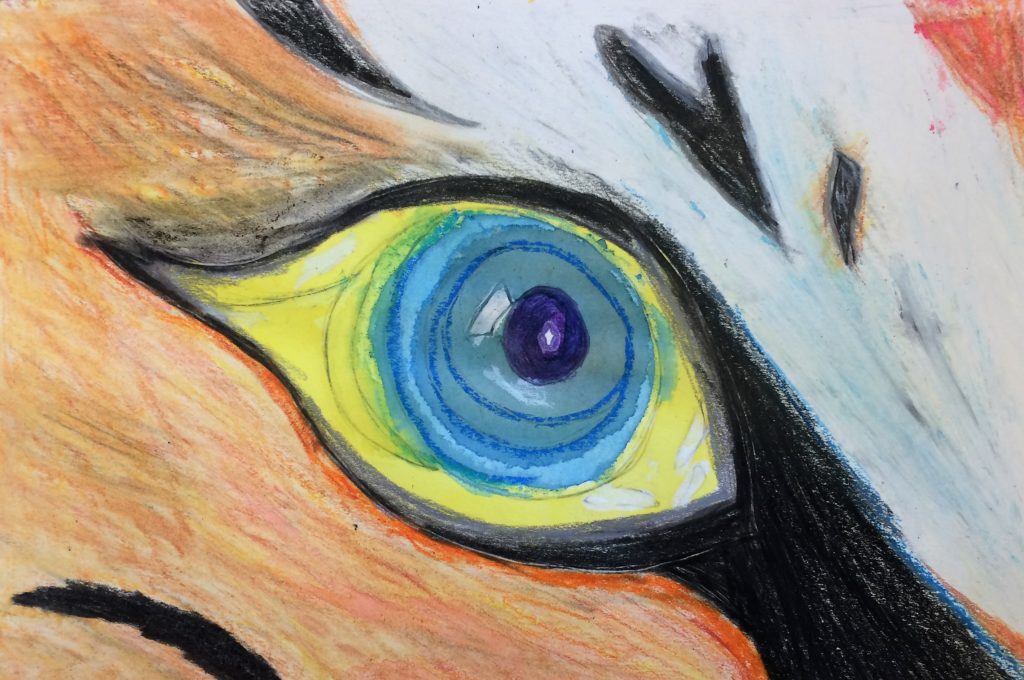
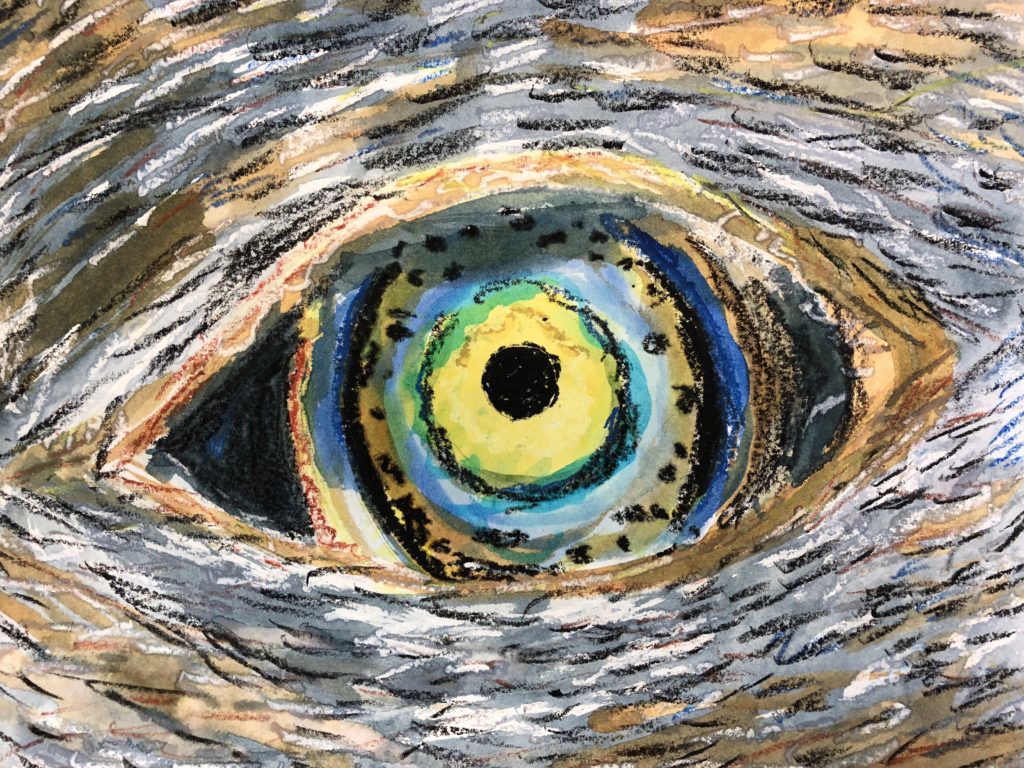
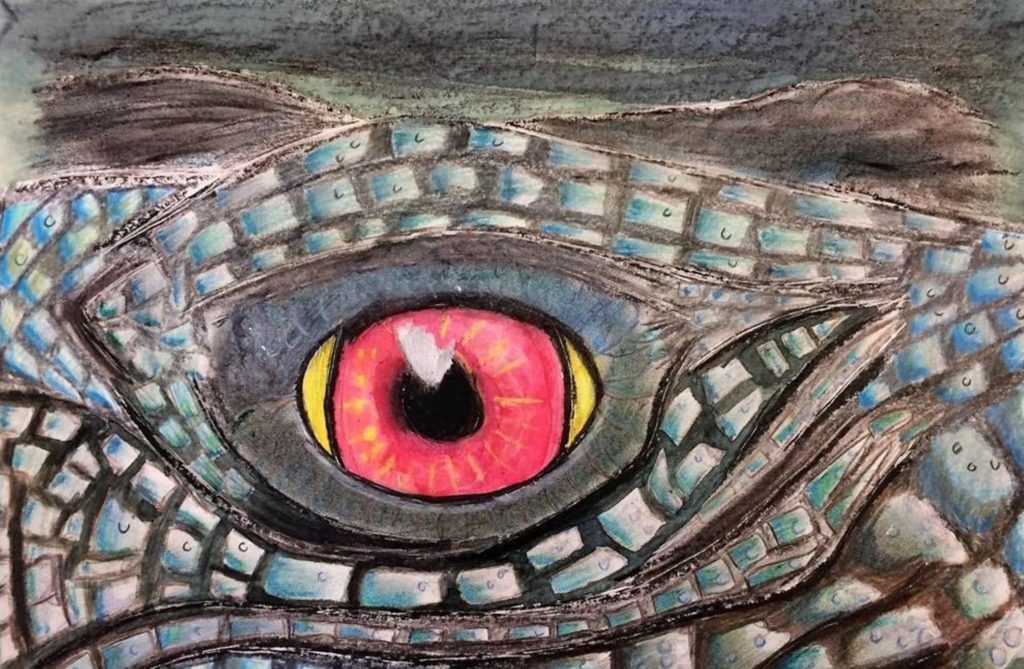
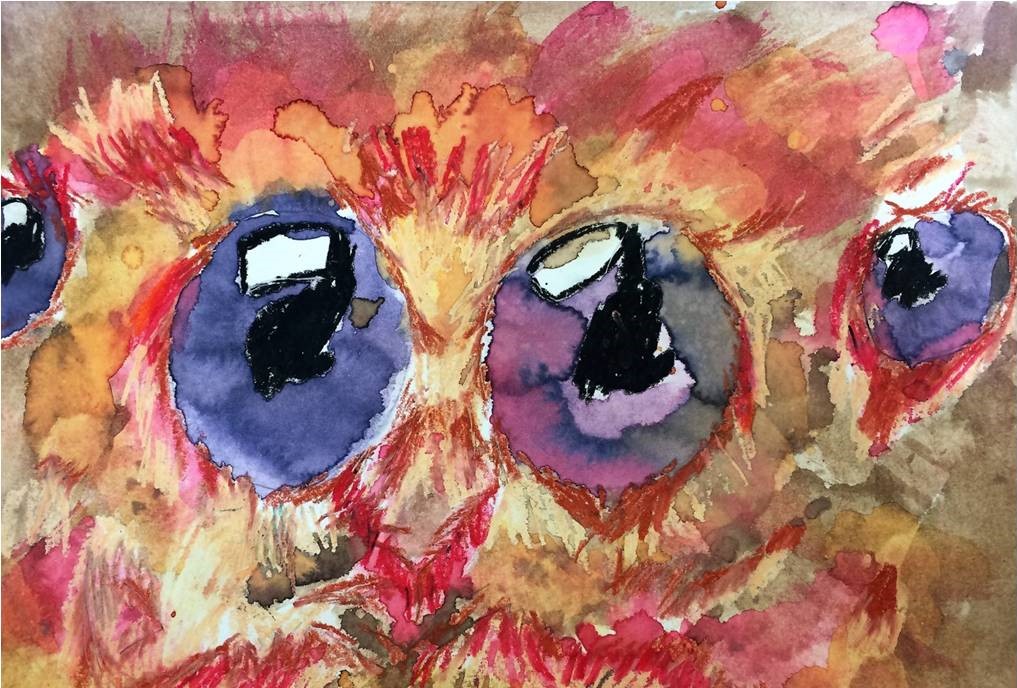
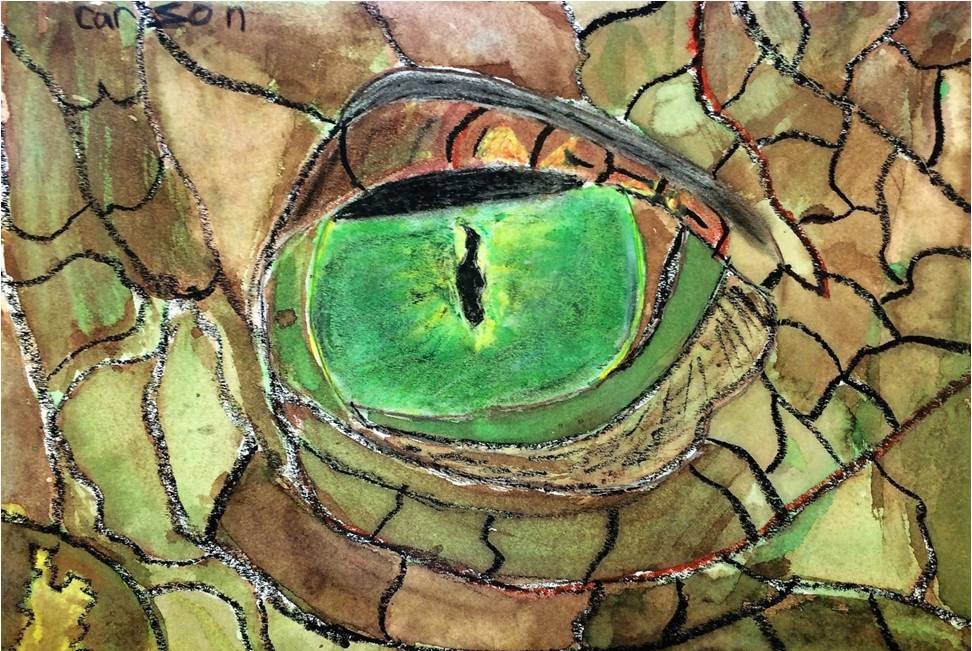
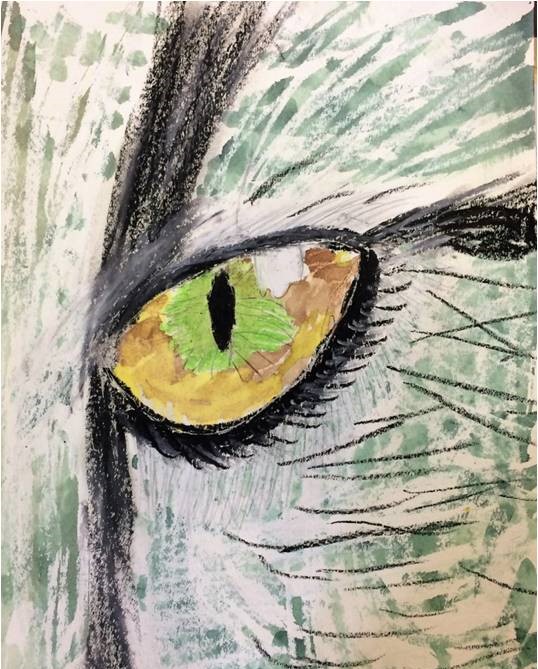
Here are some finished Animal Eyes Art pieces!
Common Core Standards
7th Grade – Science – Focus on Life Sciences
Structure and Function in Living Systems
5. The anatomy and physiology of plants and animals illustrate the complementary nature of structure and function.
a. Students know plants and animals have levels of organization for structure and function, including cells, tissues, organs, organ systems, and the whole organism.
b. Students know organ systems function because of the contributions of individual organs, tissues, and cells. The failure of any part can affect the entire system.
8th Grade – Math – Geometry
Understand congruence and similarity using physical models, transparencies, or geometry software.
- Verify experimentally the properties of rotations, reflections, and translations:
a. Lines are taken to lines, and line segments to line segments of the same length.
b. Angles are taken to angles of the same measure.
c. Parallel lines are taken to parallel lines. - Function notation is not required in grade 8.
- Understand that a two-dimensional figure is congruent to another if the second can be obtained from the first by a sequence
of rotations, reflections, and translations; given two congruent figures, describe a sequence that exhibits the congruence
between them. - Describe the effect of dilations, translations, rotations, and reflections on two-dimensional figures using coordinates.
- Understand that a two-dimensional figure is similar to another if the second can be obtained from the first by a sequence
of rotations, reflections, translations, and dilations; given two similar two-dimensional figures, describe a sequence that
exhibits the similarity between them.
Check out more lessons like this one in my Best of Autumn and Fall Art Lessons for Kids post: Click Here
Drawing an Animal Eye With Chalk Pastels
Source: https://leahnewtonart.com/2018/09/03/animal-eyes-art-lesson-project-for-kids/
0 Response to "Drawing an Animal Eye With Chalk Pastels"
Postar um comentário